02 / Field guide
Start with the flight line
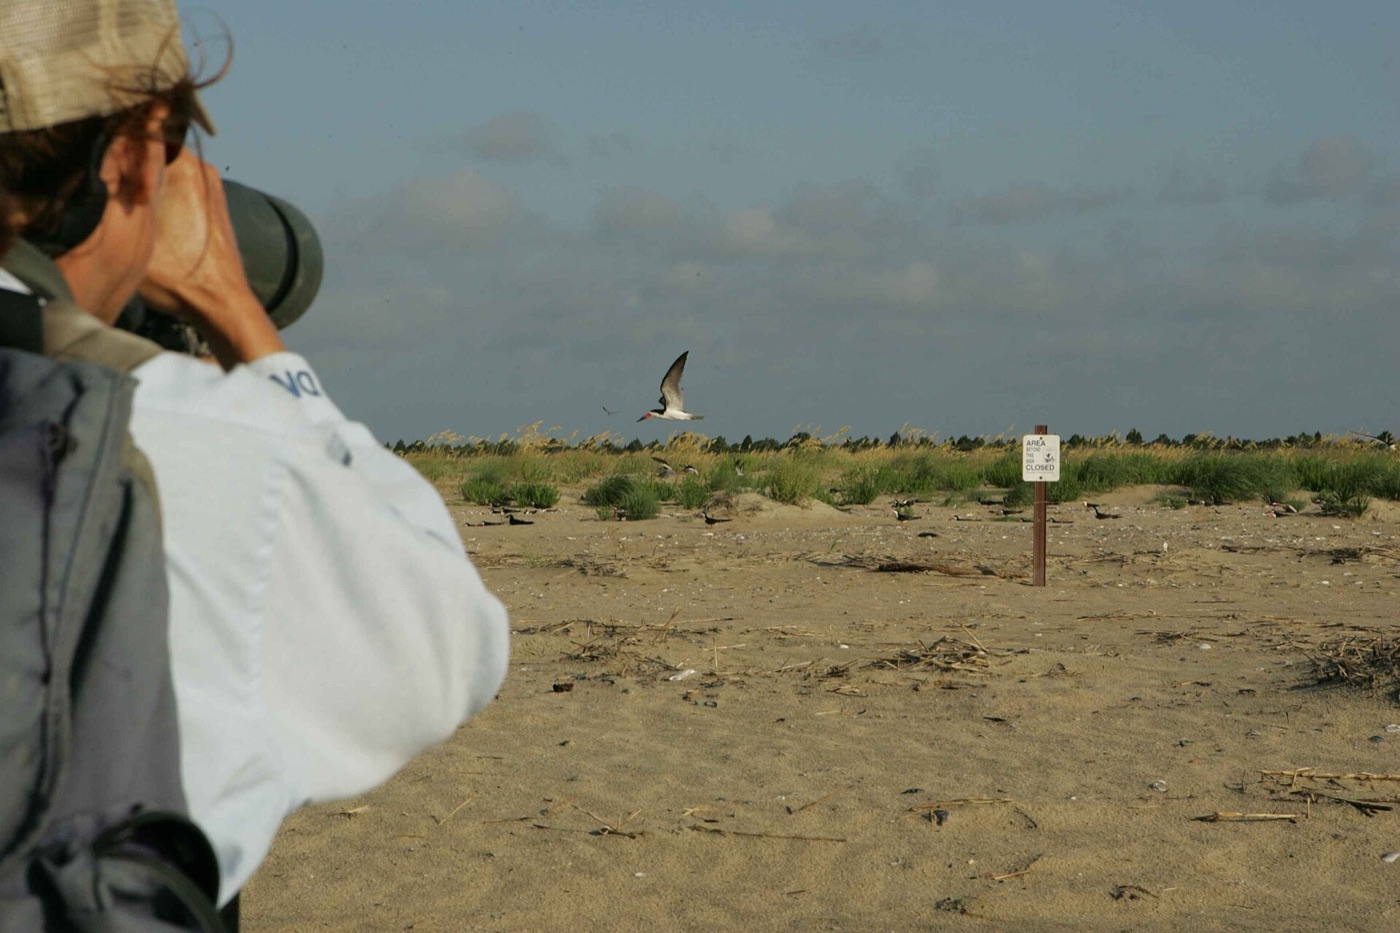
Watch before lifting the camera. Birds often repeat departures, crossing points, landing approaches or wind-facing turns. Stand where the likely flight line gives a clean background and side or front light. Sun and wind from roughly the same direction produce the easiest first setup because approaching birds tend to face both.
03 / Field guide
A dependable starting setup
Manual exposure mode with Auto ISO gives direct control over the two creative constraints: shutter speed and aperture. Start near 1/2000 second for general flight, f/5.6–f/8 when light allows, continuous autofocus with subject detection or a practical zone, and high-speed drive. Raise shutter speed for small, fast or close birds; lower it deliberately only when you want wing blur or need more light.
04 / Field guide
Acquire, track, release
Begin with the lens slightly wider if locating the bird at full focal length is difficult. Bring the bird into a broad autofocus area, start tracking before the ideal frame, then make short bursts through the strongest wing positions. Keep both eyes open when a narrow viewfinder makes acquisition difficult. A smooth turn from the hips is more repeatable than steering with the wrists.
05 / Field guide
Exposure against the sky
A pale bird against dark terrain and a dark bird against bright sky create opposite metering problems. Use the histogram and highlight warning on a test pass. Exposure compensation is fastest in an automatic mode; in manual mode with Auto ISO, many cameras still allow compensation. Protect bright plumage, but do not underexpose so heavily that lifting shadows destroys feather detail.
06 / Field guide
Autofocus without mythology
Modern bird-detection autofocus helps, but backgrounds, distance and subject size still matter. Against clean sky, a large area can acquire quickly. Against reeds or trees, start with a smaller zone and keep it on the bird long enough for tracking to settle. If the system grabs the background, release focus, reacquire and begin again rather than holding a lost lock.
07 / Field guide
Field drill
Practice on predictable local birds before a trip. Track without firing for ten passes. Then shoot only when the bird reaches a chosen background. Review sequences for acquisition delay, clipped wings and horizon tilt—not just sharpness. One adjustment per session teaches more than changing every autofocus option at once.
Research standard
Sources & field references
- Nikon — Photographing Birds in Flight
- Canon — Bird photography learning resources
- Audubon Photography Awards — Ethical photography guidance
Access, fees, closures and regulations can change quickly. Confirm practical details with the managing agency before travel.